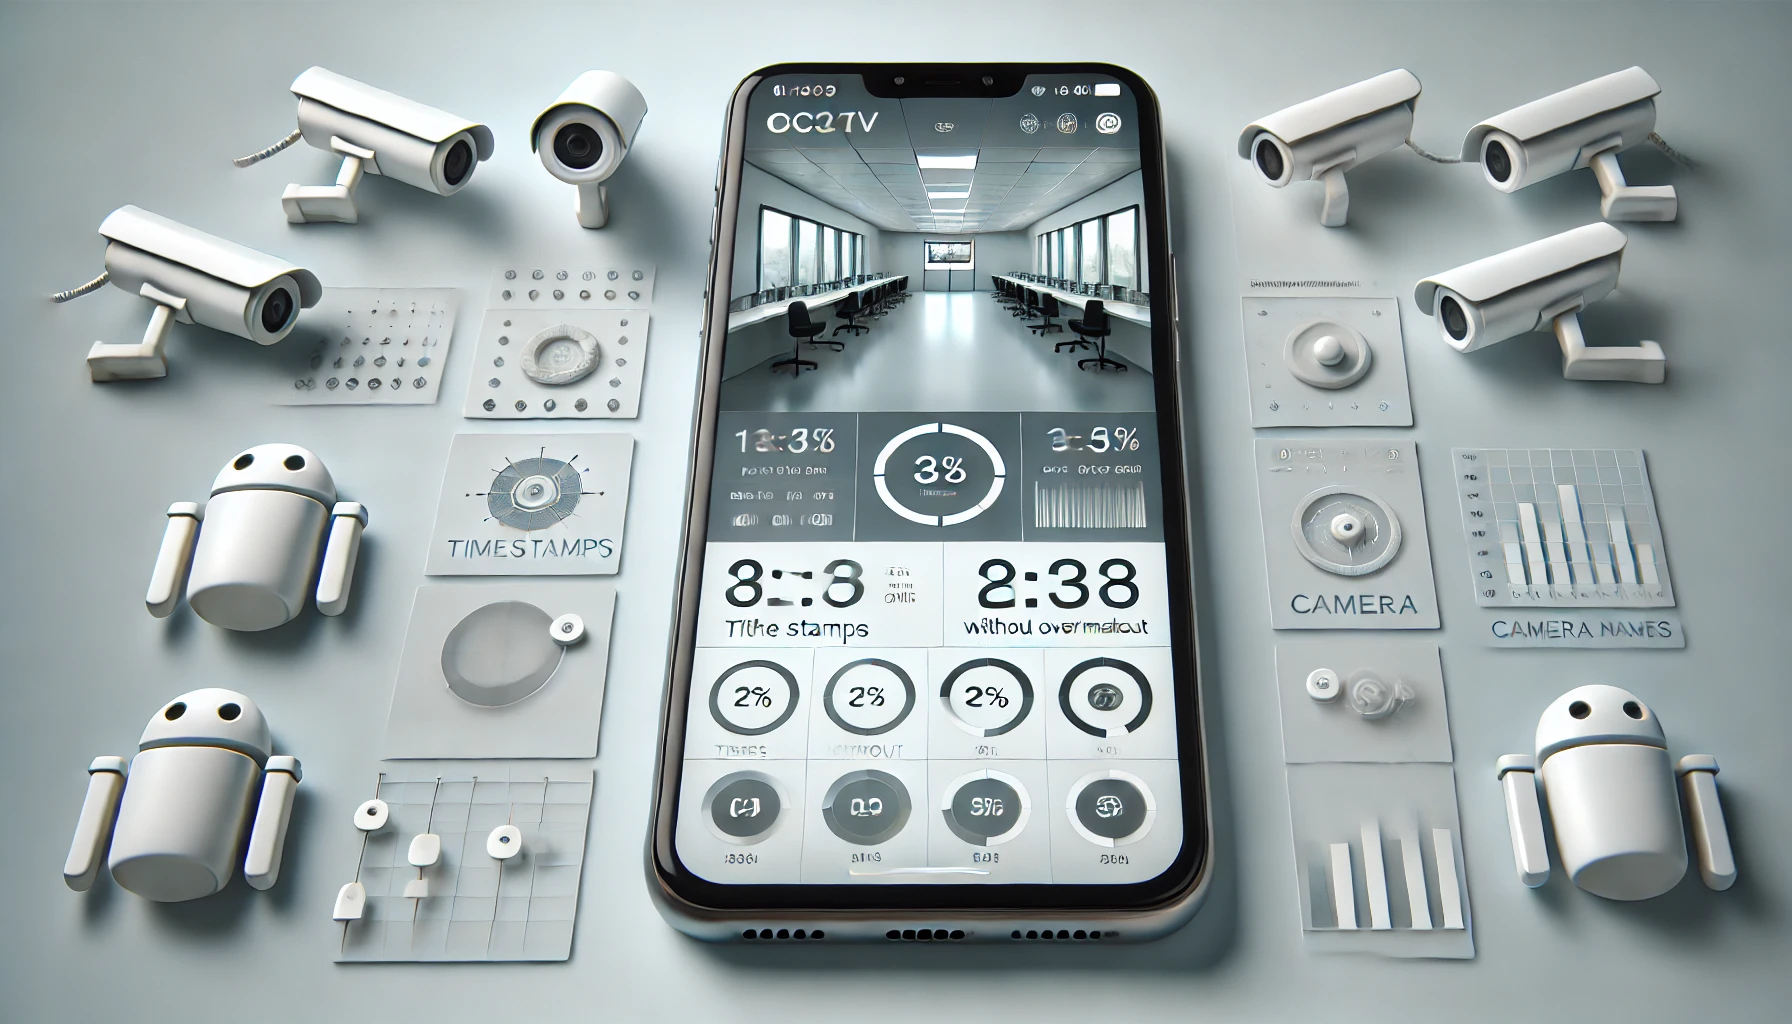
1. Introduction to HiSilicon CCTV Overlays on Android
HiSilicon is a popular chipset manufacturer for CCTV systems, known for producing high-quality and cost-effective video monitoring solutions. Many security cameras powered by HiSilicon chipsets can be managed via Video Management Software (VMS) applications, including apps on Android. However, some users encounter an issue where metadata or information overlays appear on the video. Removing this overlay enhances the video viewing experience and is often desired in certain security and surveillance scenarios.
2. Understanding Video Overlays in CCTV Footage
Video overlays typically include information like:
- Timestamps (date and time of recording)
- Camera ID or name
- User information
- Custom text set by the admin
While overlays help in identifying crucial data in security footage, they can clutter the screen, especially when it covers key areas of the video feed.
3. Reasons for Removing Overlays
Users may want to remove or hide overlays for several reasons:
- To have an unobstructed view of the footage.
- To capture clear snapshots or recordings without metadata for privacy or legal reasons.
- To make the footage appear more professional for presentation or review.
4. Accessing HiSilicon VMS Settings on Android
To manage overlay settings, you’ll need to navigate to the HiSilicon VMS app on your Android device. Make sure your app is up-to-date, as software updates often add features or improve functionality. Ensure you have administrative access to make changes, as some overlay settings may be restricted to certain user roles.
5. Step-by-Step Guide to Disabling Overlays on HiSilicon VMS
Accessing Device Settings
- Open the HiSilicon VMS App: Start by opening the VMS app on your Android device. Log in if necessary.
- Navigate to the Camera Settings: Locate the settings menu, which may be represented by a gear icon or accessed through a “Settings” option in the main menu.
- Select the Camera: Choose the specific camera from which you want to remove the overlay.
Adjusting Overlay Settings
- Find Overlay or OSD Settings: In the camera settings, look for an option labeled “Overlay,” “OSD” (On-Screen Display), or something similar.
- Toggle Overlay Options: Many VMS apps allow users to enable or disable specific overlay elements, such as the timestamp or camera name. Toggle these options off.
- Save Your Settings: Once you’ve adjusted the settings, save your changes. The overlay should now be disabled for the selected camera.
Note: Some Android VMS applications do not support direct overlay removal and may require changes to be made via the DVR or NVR settings instead.
6. Alternative Methods for Overlay Removal
If the VMS app on your Android device does not support direct overlay control, consider these alternative methods:
Using VMS Software for Editing
- Edit Through VMS Software on a PC: Many HiSilicon VMS solutions have more advanced software versions for PC. Access the overlay settings on the desktop version of the VMS and apply changes there. Once applied, these settings may sync with the mobile app.
Disabling On-Screen Display (OSD) on DVR/NVR
- Access the DVR/NVR Menu: Using the DVR or NVR connected to your HiSilicon cameras, access the main menu.
- Navigate to OSD Settings: Locate the OSD or Overlay settings in the device’s system menu.
- Disable or Adjust Overlay Elements: Turn off the elements you don’t want displayed.
- Save Changes: Confirm the changes and exit the menu.
Note: Disabling overlays on the DVR/NVR level should reflect across all connected devices, including Android VMS.
7. Common Issues When Removing Overlays
Sometimes, users may face issues while trying to remove overlays. Here are some common problems and solutions:
- Settings Not Syncing: Ensure both your VMS app and DVR/NVR firmware are updated to the latest versions.
- Insufficient Permissions: Make sure you have admin privileges to change overlay settings.
- Incompatibility: Some HiSilicon VMS versions on Android may lack advanced overlay controls. Check if your VMS version supports overlay removal.
8. Tips for Optimal Video Playback Without Overlays
- Check Settings on All Devices: Make sure any settings adjusted on DVR/NVR are also reflected on the Android app.
- Update Regularly: Keep your VMS app and device firmware updated to access the latest features and bug fixes.
- Disable Unnecessary Notifications: If overlays are caused by alerts, disable notifications for a cleaner view.
9. FAQ Section
Q1: Can I remove the overlay without admin access?
A: No, most overlay settings require administrative privileges to adjust.
Q2: Do these changes affect the recorded footage?
A: Typically, changing overlay settings only affects the live view and new recordings. Existing recorded footage may still display overlays.
Q3: Can I remove the overlay permanently?
A: Once removed via VMS or DVR settings, overlays should stay disabled unless re-enabled manually.
Q4: Why can’t I find the overlay option on my Android app?
A: Not all VMS apps have direct overlay control. Try accessing these settings via the DVR/NVR menu.
Q5: Will removing overlays impact playback quality?
A: No, removing overlays does not affect video resolution or quality.
10. Conclusion
Removing video overlays from HiSilicon CCTV footage on an Android VMS app can provide a cleaner, more professional view of surveillance videos. Although the Android app may have limitations, this guide offers both app-based and alternative methods to successfully disable unwanted overlays. By following these steps, users can enjoy an unobstructed viewing experience, whether for personal monitoring or professional use.


Leave a Reply